Monday, January 31, 2011

Tube Cutting and JIG Fitting

I promised ever excited Neil an update so here it is.  Below I'm showing part of the tube mitering process and how they fit in the JIG when complete.  First is the marked downtube ready to cut.  The BB30 sized mandrel is installed in the mill.  You can see a fine black line scribed in the silver area on top of the tube.  I sand up to that line.
Next is the finished cut.
Here is the BB joint with all the tubes fitted in the JIG ready to glue.
Same thing at the head tube junction.
And the water bottle boss holes ready for the Rivnuts.
And finally the whole front triangle in the JIG showing the integrated seat post extension.
Next step is to install the bottle bosses, sand, clean and glue the joints together with DP-420...

Saturday, January 29, 2011

While Waiting...

While waiting for Neil's seat tube to cure I marked the rest of the tubes for cutting and mitering (the fine black lines scribed in the silver marker).
Still had time so I modified a cable guide to better fit the chain stay diameter (and took off one of the rivet holes).
More time left so I set up the JIG and placed the head tube and BB.
I had to make new mitering mandrels for the sander so I cut and turned the one for the BB30.  Oh look...Neil's seat tube is magically finished and the post mount fits!

Neil's Frame Begins

I've started on the first "real frame" that will be ridden.  It's for Neil (and he's terribly excited) and here are his tubes ready to start marking and cutting.
This frame will have an integrated seat tube and the post head Neil provided had a 33.9mm ID.   I built up the top end of the seat tube to fit by wrapping in carbon (being carefull to keep it straight).
Next I put the tube in the lathe and inserted the end plug.
Then I wrapped it in flash breaker and shrink tape.
Then it's off to the oven for 2+ hours of baking.  The oven now has the heat dissipation modifications (fingers crossed that it all works).

Tuesday, January 25, 2011

Water Bottle Boss Test

I did a quick water bottle boss test.  I used AW Rivnuts designed for "softer" materials in an M5x0.8 thread.  After drilling the correct size hole I installed the Rivnut watching it collapse on the back side as I went.


Here it is installed.


And here it is ripped out after applying considerable force.  Enough force to delaminate the tube wall.

I'll use DP-420 in behind the Rivnuts when I install them in a frame for added security.

Head Tube Finish

I decided to see what sort of finish I could achieve without hours of work.  Below is the head tube joint.  It was rough sanded to get the ridges and high points off the carbon.  Then it had a thin layer of epoxy "painted" over it.  It was then sanded, "painted" and sanded.  Other than a few small holes and scratches it looks pretty good.

Sunday, January 09, 2011

Doh!


I did have something go wrong in the oven.  Apparently the cheap carbon rear end I used had poorly cured chain stays.  I noticed when I mitered them that they gummed up the abrasive belt a little.  Didn't think much of it at the time.  When I pulled the frame out of the oven I noticed this.
OOops...apparently 250F was more than this stay could handle under vacuum.  Good thing it as A)Cheap and B) Only on a test frame.
The odd thing is the at the seat stays from the same set were not affected?

UPDATE:  I've determined that there was uneven heating in the oven which caused the stay to go over temp and collapse.  I've modified the oven with a plate to diffuse the heat from the elements and increased the fan speed with a larger motor.

Out of the Oven and into the...

...Workbench I guess.  Ok, here is the post cured head tube joint.  Lots of resin pulled out of the joint under vacuum which could be a good sign (or a horrible failure, time will tell).
 
Even the convoluted BB looks good.
 

After stripping off the "easy" vacuum bag material I ended up with this mess at each joint!
After much gnashing of teeth etc...
You get this...which actually looks pretty damn promising so far, at least good enough to unwrap the rest.

Head Tube joint looks good with a small "flash" line where the bag joint was.  This will sand off easily.


Even the BB looks like it had full compaction under vacuum, no shiny parts where the release cloth was not compressed against the carbon.


And the important part (for some), the weigh in!


It's in the Bag!

Before I put the frame in the vacuum bag, I added a few layers of carbon as bottle boss reinforcements.  One I surrounded with flash tape, the other I did not.  They both got wrapped with shrink tape.


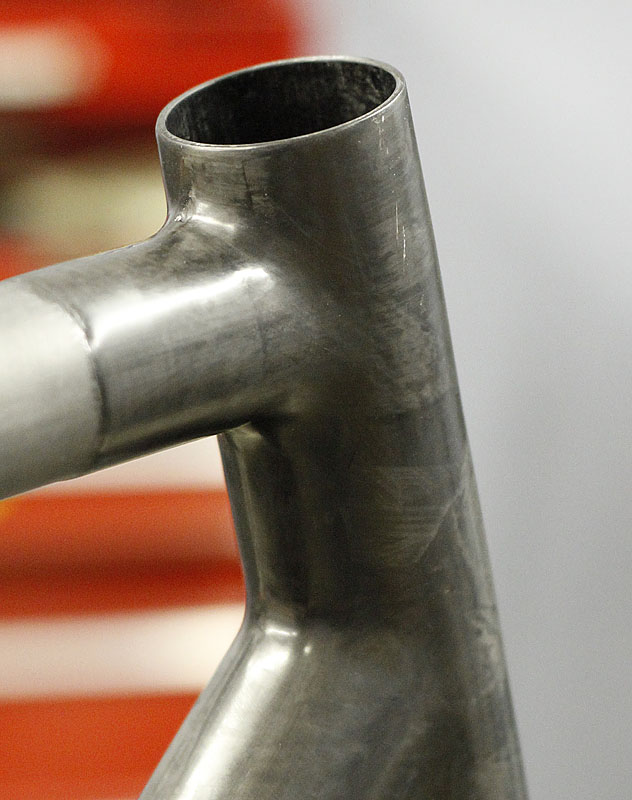
Here is the head tube wrapped in release cloth.  I tried to keep it as smooth as I could to help make for a smoother finished joint.
After wrapping the other joints I covered them in bleeder and "connected" them with some more to where I put the vacuum fitting in.
This is a shot of the frame in the bag with vacuum pulled to test for leaks and to make sure there was enough slack/stretch to conform to all the joints.
I folded the bag back on itself inside the rear triangle to avoid stressing or crushing them or pulling things out of alignment.
I managed to get around 25-26 in Hg and it was consistent so in the oven it goes.

Here is the oven and compressor running and of course a pile of crap on the handy "shelf" conveniently located on top of the oven.
Not it's time to pace back and forth staring at the vacuum gauge for 3 hours.  Actually I checked it once the oven reached 250F then left it to cook.

Saturday, January 08, 2011

Layup

It took about 4 hours to lay up all the carbon on the frame.  Below are a series of photos of the layering.

I start each joint with a long continuous layer along the joint.
 Lots of layers later...
 Again, one long layer to start.


 The seat tube junction had a few fewer layers.

 The flash breaker tape should help with maintaining the "lug" edge after curing.
A lot of cutting little pieces of carbon.  I think I need some woven cloth or 300g/m^2 uni.


Sanding Joint Prep

I sanded the fillets and installed the UHWM plugs in preparation for layup.  Everything was wiped down with isopropyl alcohol prior to layup.